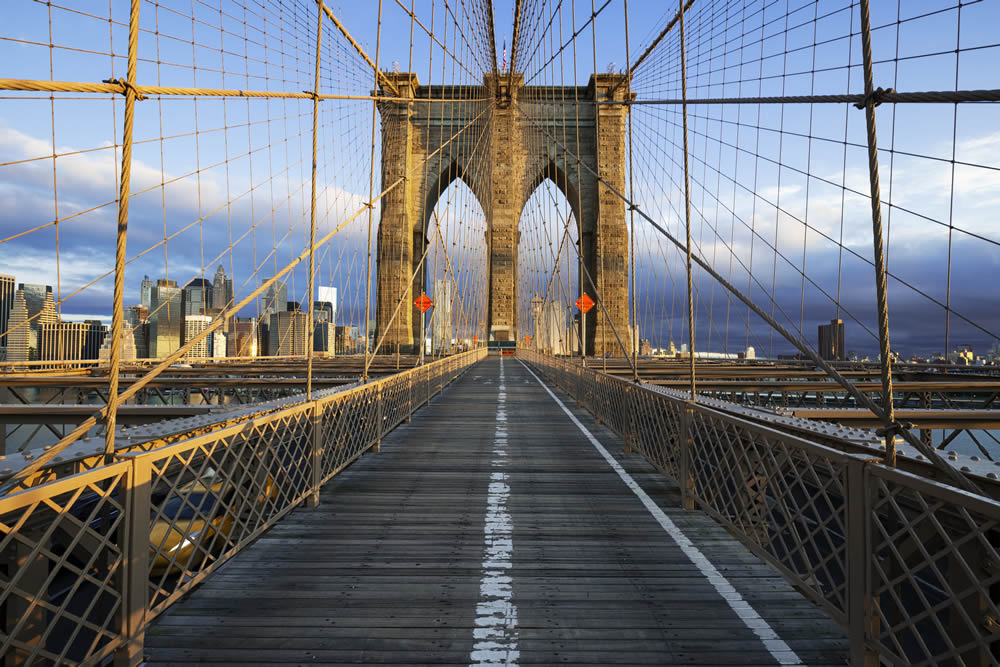
In image processing, computer graphics, and photography, high-dynamic-range imaging (HDRI or just HDR) is a set of techniques that allow a greater dynamic range of luminance between the lightest and darkest areas of an image than current standard digital imaging techniques or photographic methods. This wide dynamic range allows HDR images to more accurately represent the range of intensity levels found in real scenes, ranging from direct sunlight to faint starlight.
The two main sources of HDR imagery are computer renderings and merging of multiple photographs, the latter of which in turn are individually referred to as low-dynamic-range (LDR) or standard-dynamic-range (SDR) photographs.
Tone-mapping techniques, which reduce overall contrast to facilitate display of HDR images on devices with lower dynamic range, can be applied to produce images with preserved or exaggerated local contrast for artistic effect.
What you need :
- Digital Camera (with ability to change exposure settings)
- Tripod (not required but highly recommended)
- Photoshop or PhotoMatrix computer software
Most modern digital cameras have exposure settings so you should be able to do this even with a normal digital point and shoot camera. SLR cameras usually have a bracketing feature which makes it easier to change the exposure settings automatically. If you are using a point and shoot, you’ll need to find a way to keep the camera as steady as possible when changing settings.
Qucik Tips :
- When do you decide if you really have to make a HDR pic? If a scene that you are looking at has a dynamic range larger than your camera can capture. Simply put if you eyes goes just gaga over to adjust to different intensity of light and dark spots then its definitely a HDR scene.
- Fixing Sky in HDR: Lot of times when working on pictures with Sky especially mid day sky, the sky turns out to be a strange color. This is mostly due to the Halo effect. In such cases move your Luminosity in your tone mapping towards the right or remix the tonemapped picture with your original exposure shot for the sky in Photoshop.
I’d recommend using the following settings:
- Lowest ISO setting (200)
- Aperture Priority Mode (usually a big [A] on the wheel)
- 3 exposure settings
- EV 0 for the first picture
- EV -2 for the second picture
- EV +2 for the third picture
After the shoot, download the photos to your computer. Now you can use PhotoMatrix or Photoshop to post process your pictures.
Here are some Post Processing Tutorials :
- HDR Tutorial – Everything you need to know about HDR Photography
- HDR in Adobe Photoshop CS5
- Modern HDR Photography
- Secrets of Mastering in HDR Photography
- How to create HDR Photos
Here aree some Video Tutorials:


4 comments
Nice article… Thanks.
I love 121clickes.com , bookmarked for future reference
prohormones
I love 121clickes.com , bookmarked for future reference
how to download youtube videos to computer for free
121clickes.com is my top 1 site now!