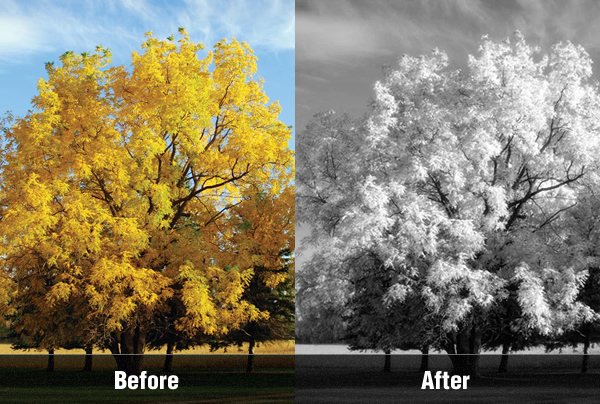
In this tutorial I will explain step by step how to create a The Infrared Photo Effect in Adobe Photoshop CS5. Know more about Infrared Photography here.
Let’s get started!
Step 1
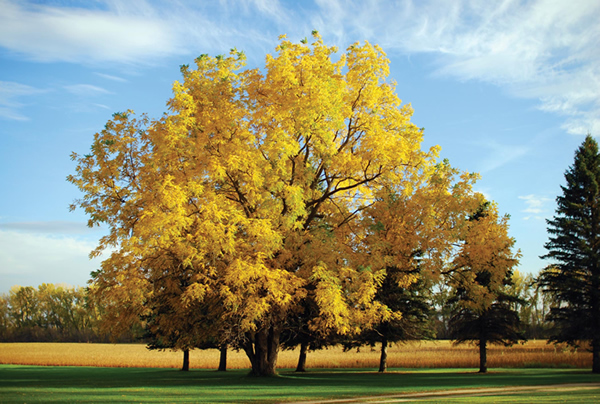
Start with the photo you want to apply the technique, Open in Photoshop.
Step 2
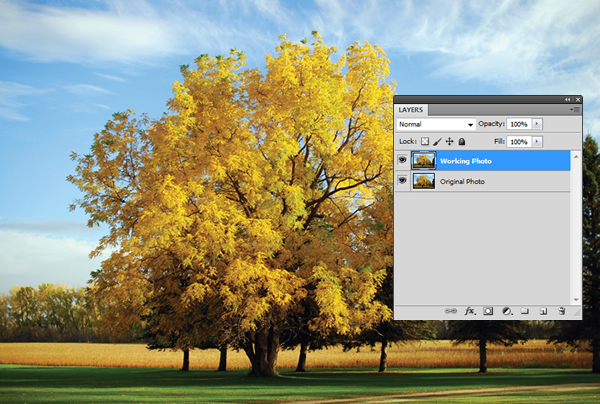
Duplicate your Original Layer as below:
Step 3
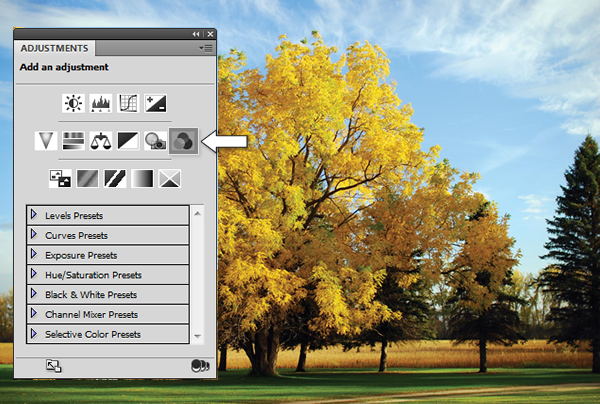
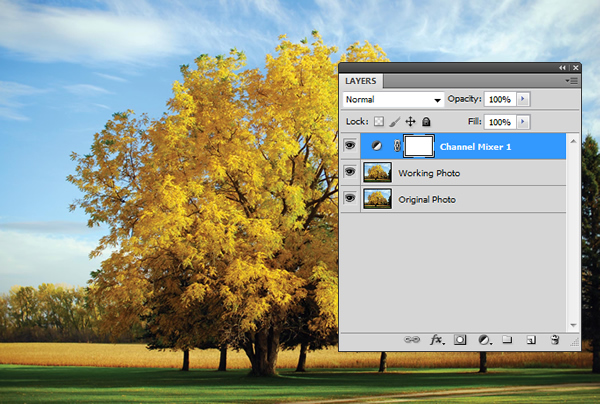
On the right hand side Adjustments panel, click the Channel Mixer button. Please check the below screenshot.
Now, the layer panel should be like below:
Step 4
Now in the Adjustment panel, Check Monochrome to convert the photo to grayscale. Move the Green slider almost all the way to the right to lighten the greens, move the Red slider slightly to the left or right, and move the Blue slider to the left. The aim is to create contrast between the light greens and the other colors. We’ve gotten good results by keeping the Total of the three sliders. Check the below screenshot and adjust accordingly.
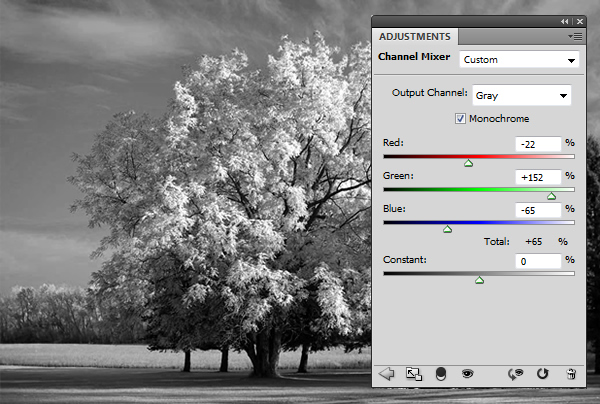
If you also want to darken the entire photo, drag the Constant slider to between –1 and –5.
Step 5
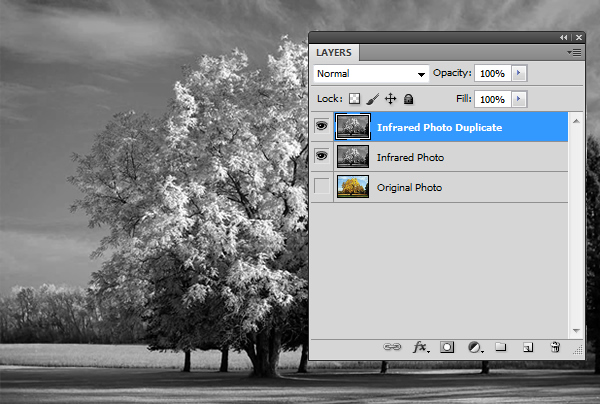
Select the visible adjustment layer, then press Ctrl-E/Cmd-E to merge it with the duplicate of the Background.
Step 6
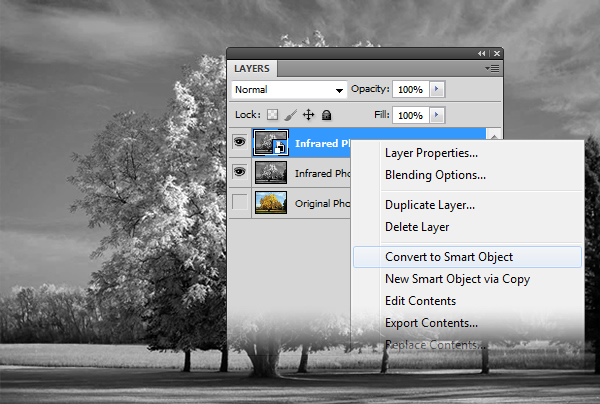
Right-click/Control-click the duplicate layer and choose Convert to Smart Object. This conversion will enable the filter that you’re going to apply next to remain editable.
Step 7
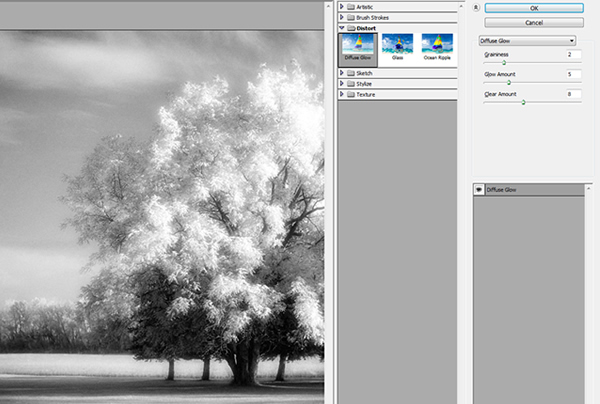
To simulate the glow that infrared photos develop (due to the requisite long exposure times), choose Filter > Distort > Diffuse Glow.
In the Filter Gallery, we chose these settings for the Diffuse Glow filter: Graininess 2; Glow Amount 5 (to create a glow without clipping too many highlights); and Clear Amount 8 (to lighten the entire photo). Press OK.
Step 8
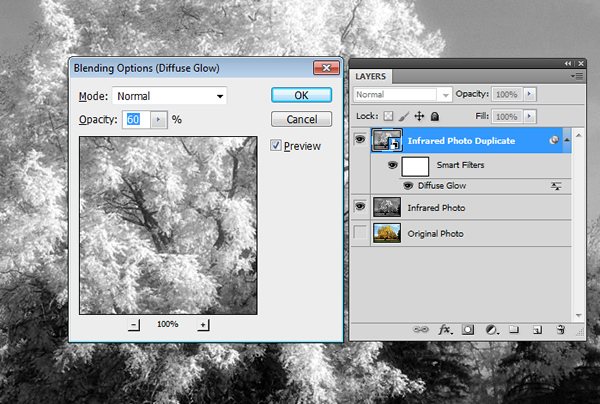
In the Blending Options dialog, we lowered the Opacity for the Diffuse Glow filter to restore some detail to the highlights. Here you can play with different modes and opacity, until you satisfy with your image.
Final Step
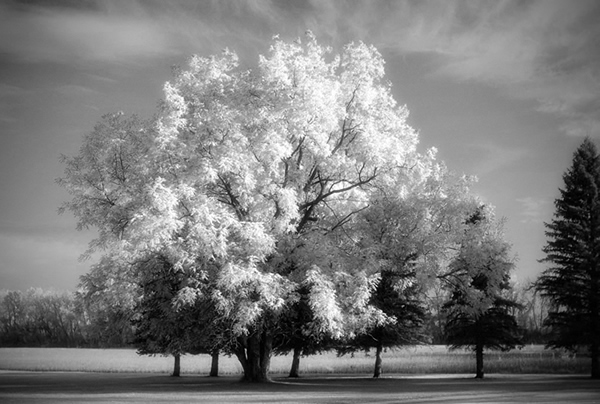
Now, we are done with editing the image. If you want to add some vignette and adjust some levels for details you can do it here. The Final Image is below.
Before and After
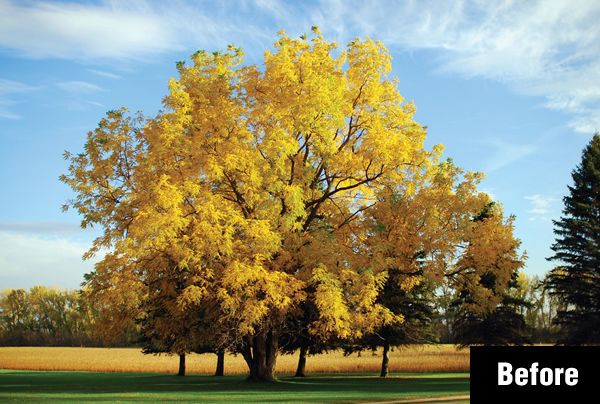
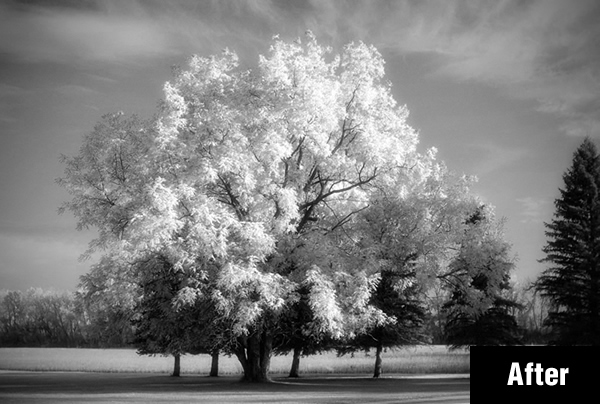
Image Source: IStockphoto
Like this Tutorial? Be sure to subscribe to our RSS feed, follow us on Twitter and Facebook to stay up on recent content.


4 comments
useful tip
keep sharing…Dee…
Great Tutorial.
nice tutorial bro !
AMAZING,THANK YOU VERY MUCH